


Caring for Antique Silver Bells: A Collector's Checklist
A practical collector's checklist for handling, storing, cleaning, and documenting antique silver bells without stripping away patina, provenance, or value.
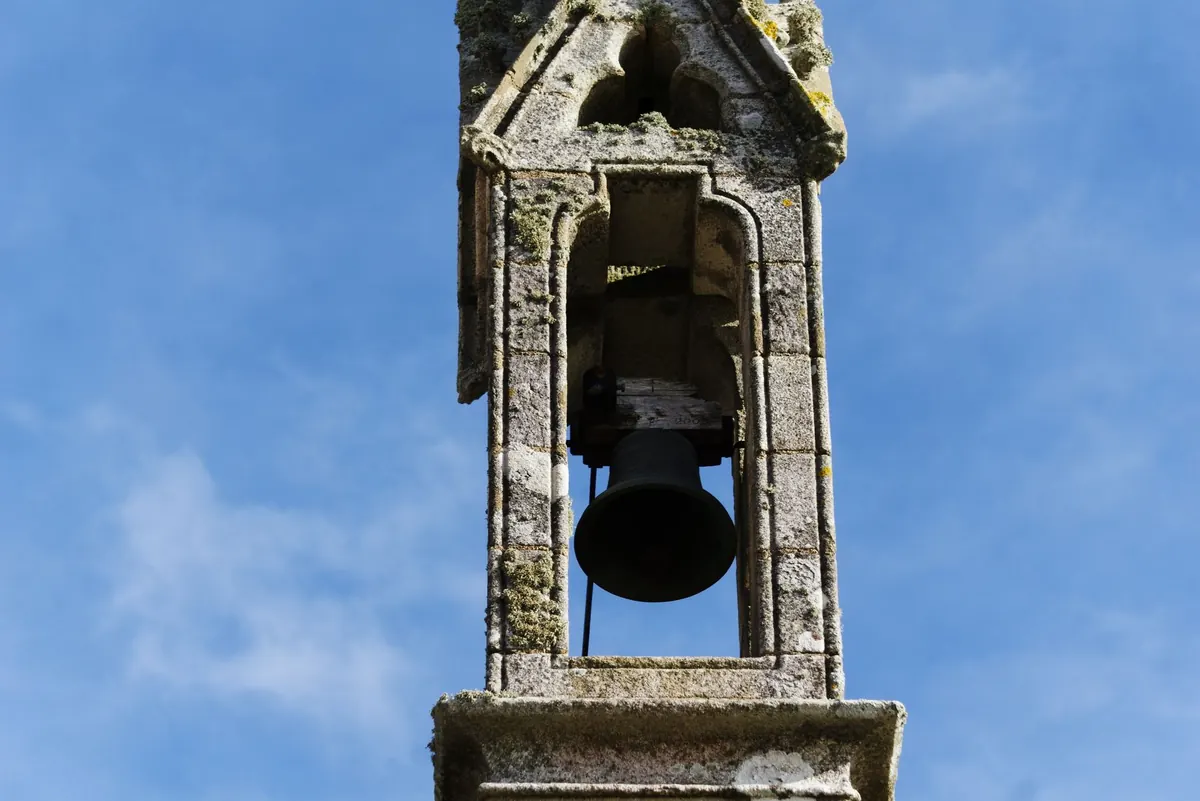
A good antique silver bell is never just one object. There is the bell itself, the clapper, the marks, the wear around the rim, and the small dents that suggest a hundred years of use. Collectors learn to read those details, and the way you handle and care for a bell can preserve them or quietly erase them. The aim is not to make an old bell look new. It is to keep it stable, legible, and honest.
Start With Your Hands
Much damage to antique bells happens during handling, often in the first minute after a bell comes home. Before you lift a bell, clear a workspace and lay down a folded towel or a piece of felt. Remove rings and bracelets. Clean cotton gloves are useful, not because bare hands will instantly ruin silver, but because gloves keep fingerprints, salts, and lotions off the surface and remind you to slow down.
Lift a bell from the body, not from the handle or finial. Those upper parts are often soldered, cast thinly, or already stressed. Support the base with one hand and steady the side with the other. If the clapper swings freely, keep it still with a gloved finger so it does not strike the inside wall. Set the bell down gently on the padded surface; do not let it drop the last inch.
- Clear a padded, uncluttered surface before unwrapping or moving a bell.
- Put on clean cotton gloves and remove rings or watches.
- Lift from the body, supporting the base and steadying the rim.
- Keep the clapper still to prevent internal chips or strikes.
- Set the bell down softly, then step back before reaching for another.
If a bell has a loose handle, a repaired rim, or a clapper that hangs oddly, treat it as fragile even if it looks sturdy. Antique repairs can be stable for decades and then fail after one awkward lift.
Storage That Lets Silver Breathe
Silver dislikes damp air, sulfurous fumes, and rough neighbors. Store bells in a dry, stable room rather than a basement, attic, or damp cupboard. A closed display case is fine if the interior stays dry; a plastic bag is not, because it can trap moisture and condensation. Avoid newspaper, cardboard, and some unfinished woods, which may release acids or fumes that encourage tarnish.
Use acid-free tissue, washed cotton cloth, or silvercloth for wrapping. Separate bells so they do not knock against each other, and pad the clapper if it could swing into the bell wall. If you remove a clapper for safety, bag it and label it with the bell’s inventory number; do not leave it loose in a drawer. Rubber bands are a poor choice because rubber can tarnish silver and leave a sticky residue.
For shelves, line the surface with a clean, inert material and leave breathing space around each piece. Heavy bells should sit on their bases, not hang from a fragile loop. Small bells can go into compartmented boxes, but label the box rather than sticking adhesive labels directly onto the silver. A simple tag tied with soft cotton tape is kinder to the surface.
Cleaning Without Erasing History
Not every dull patch is dirt, and not every dark patch is damage. Before cleaning, decide what you are removing: dust, grease, tarnish, or old polish residue. Dust with a soft brush. Grease from handling can often be lifted with lukewarm water, a drop of mild dish soap, and a soft brush, followed by a thorough rinse and immediate drying with a soft cloth. Do not leave a bell wet, and do not let water sit inside the crown or around a repaired joint.
Tarnish needs a different approach. Antique bells may be solid silver, sterling, or silver plate over a base metal, and worn plate can react badly to aggressive treatment. Avoid abrasive powders, toothpaste, bleach, dip solutions, and ultrasonic cleaners unless a conservator has approved them for that specific piece. These can strip patina, dull the surface, or worsen worn spots.
When polishing is necessary, use a small amount of a reputable silver polish on a soft cloth and work gently. Test on a hidden area first. Keep polish away from marks and inscriptions, and use a cotton swab rather than a cloth around stamped details. Remove polish residue completely, because dried polish in crevices looks like dirt and can be difficult to remove later.
When to Polish—and When to Leave It Alone
Polish when tarnish is heavy enough to obscure decoration or transfer onto your hands. Leave the surface alone when dark recesses define the pattern, when the silver plate is thin, or when the bell has a fragile, flaky surface. Patina is part of the object’s history, and collectors often prefer an even, gentle age over a bright, scrubbed finish. A bell does not need to shine like new to be well cared for.
Documenting Provenance and Condition
Photograph a bell before you clean it. Use daylight, a neutral background, and close-ups of the marks, rim, handle, clapper, and any damage. Record height, diameter, weight if you have a scale, and the exact wording of inscriptions. Note whether the clapper appears original, whether the bell has been repaired, and whether the surface is solid silver or plated.
- Front, back, top, base, and interior photographs
- Close-up of maker’s marks, stamps, and inscriptions
- Notes on dents, cracks, repairs, worn plate, and loose fittings
- Purchase details, seller’s description, and any family history
- Date of each cleaning or treatment, kept separately from the object
Keep these records in a notebook or spreadsheet and update them when something changes. Provenance does not have to mean auction history; a note that a bell came from a grandmother’s kitchen or a local house clearance can matter to the next owner. For insurance or estate questions, use a qualified appraiser rather than an online guess.
Display Without Inviting Disaster
Bells invite touching, especially when they hang at eye level. Display them where they are stable and out of a busy walkway. Keep them away from radiators, sunny windowsills, humidifiers, and kitchen steam. If you hang a bell, check the wire, ribbon, or mount regularly and make sure the fixing can carry the weight. A heavy bell should rest on a shelf or bracket, not dangle from a decorative loop that was never meant to bear load.
Dust with a soft brush instead of a damp cloth. Turn bells occasionally if they sit in open display, but handle them less than you think you need to. A small archival card beside a bell can carry the label; adhesive tape and sticky notes should stay off the metal.
A Ten-Minute Collector’s Check
Before a new bell goes into storage or onto a shelf, run through the same short routine. Photograph it. Check for loose clappers, fresh cracks, or unstable repairs. Make sure it is dry. Wrap or pad it so it cannot strike another object. Record where it came from and where you are putting it. Then wash your hands, put the gloves away, and leave the bell alone. Good care is mostly restraint: fewer cleanings, better storage, and a clear record of what has changed.
Photo: Richard REVEL / Pexels