


Christmas Bell Decorating Checklist: 10 Steps Before Guests Arrive
A practical ten-step plan for cleaning, placing, and securing Christmas bells across mantels, tables, doors, and trees before guests walk in.

Christmas bells are forgiving decorations. They look right in a bowl, on a hook, tucked into greenery, and they add a sound to a room that another string of lights never will. That is also why they are easy to scatter and hard to finish. A bowl here, a ribbon there, and by mid-December the house holds eleven small piles of good intentions.
The checklist below is the one worth running in the final week, ideally two evenings before guests arrive. It moves from sorting to cleaning to placement to the quiet safety details that keep a decorated house comfortable. Work through it in order and you finish with bells that look deliberate rather than distributed.
The Ten Steps at a Glance
Read the whole list once before you start pulling boxes down from the top shelf. It is ordered so that nothing has to be redone twice.
- Gather every bell in the house into one room.
- Sort into three piles: display, repair, retire.
- Clean and dry each piece according to its material.
- Test clappers, ribbons, cords, and hanging hardware.
- Assign zones: mantel, table, door, tree.
- Build each zone around one anchor bell.
- Add greenery and light only after the bells are placed.
- Secure anything that could slide, swing, or tip.
- Check the sound, especially on doors and trees.
- Walk the rooms at guest height before you call it done.
Steps nine and ten are the ones people skip, and they are the ones visitors notice first.
Clean and Inspect Before Anything Else
Dust is the difference between a collection and a clutter. Set up at the kitchen table with a towel, a soft cloth, and a bowl of warm water, and handle each bell once. If a piece needs repair, put it in the repair pile with a note rather than promising yourself you will remember.
Brass and bronze
Warm water with a drop of mild dish soap removes most surface grime. Dry immediately and thoroughly, because trapped moisture dulls the finish and can stain fabric ribbons. If you use a metal polish, test it on the underside first and go easy: many older bells carry a patina that a hard shine would ruin.
Silver plate and glass
Silver plate dislikes abrasives and long soaks. A soft cloth and a gentle silver polish, applied lightly, is enough. Glass bells should never go from a cold box into hot water; let them reach room temperature, wash in warm water, and dry with a lint-free cloth held by the handle rather than the rim.
Ribbons, felt, and cord
Check every loop and knot. Frayed ribbon will fail on the day, and old string can look tired even when the bell is beautiful. Replace hangers with fresh velvet ribbon, jute twine, or leather cord, and clip loose ends on a diagonal so they do not unravel.
Give Each Bell a Zone
The fastest way to make a collection look styled is to decide where each bell lives before you start arranging. Four zones are usually enough for a house that entertains.
- Mantel: the heaviest pieces, sitting flat, with nothing hanging over the firebox.
- Table: low bells that do not block the view across the table.
- Door: sturdy bells that can take a bump and a draft.
- Tree: lighter bells, tied on rather than hooked.
Any bell that does not comfortably fit a zone goes back in the box. A short, confident display reads better than a crowded one.
Style the Mantel and the Table
Mantel
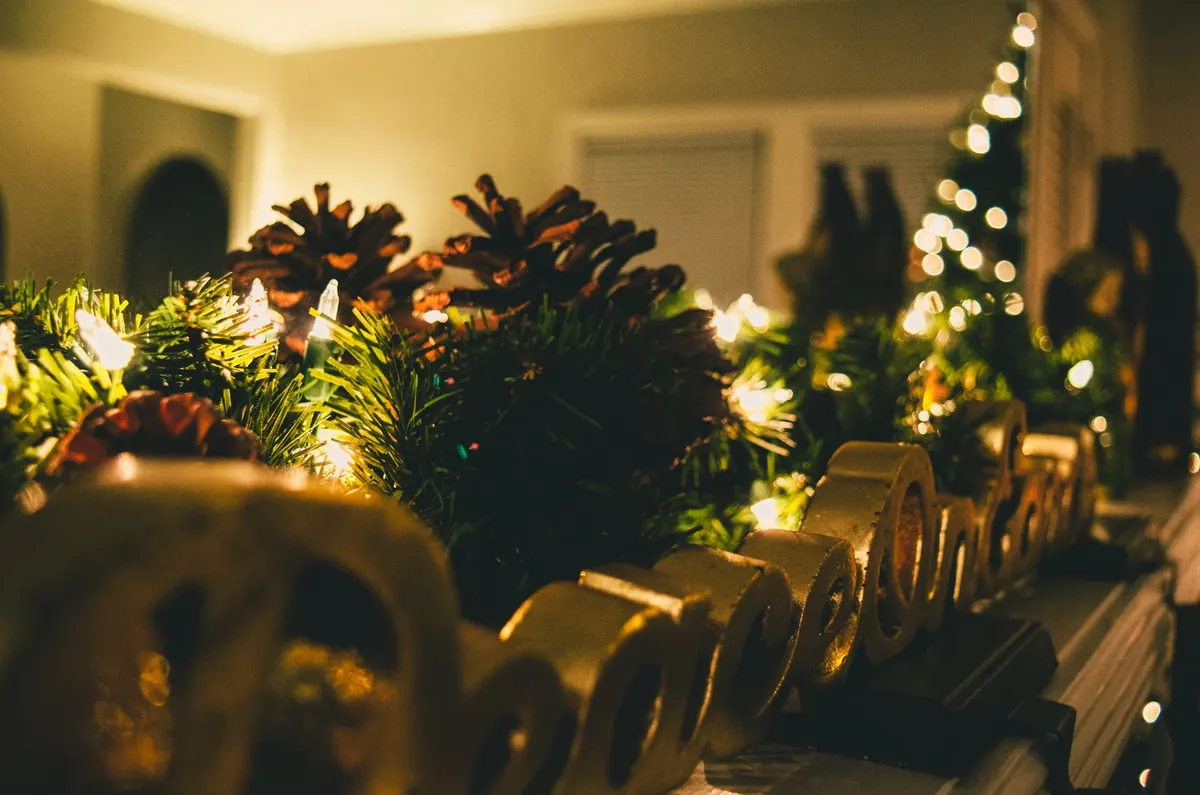
Start with one anchor bell, larger than the rest, placed slightly off centre. Group two or three smaller bells beside it at different heights using a short stack of books or a small block under a cloth. Keep the arrangement to one or two clusters, not an even row, and leave the ends of the mantel a little bare so the eye has somewhere to rest. Greenery goes in after the bells, tucked behind and between them rather than in front.
Table
On a dining table, restraint matters more than on the mantel. A shallow tray holding three bells and a sprig of greenery is plenty, and it can be lifted off in one movement when the food arrives. If you are setting a long table, repeat the same small grouping at two points rather than filling the middle. Nothing on the table should be tall enough to block a conversation.
Check the finish underneath. A felt pad on the base of every metal bell costs almost nothing and prevents a ring of scratches on wood that you will notice in January.
Hang Door and Tree Bells So They Stay Put
Doors are where decorations meet physics. Close the door with the bells in place before guests arrive and listen. Ribbons long enough to catch in the hinge, or bells hanging low enough to strike the frame, will be damaged within a day. An over-the-door hanger avoids nails, and a short ribbon of three or four inches keeps the bell clear of the weatherstripping.
On the tree, tie rather than hook. A loop of thin floral wire or ribbon around the branch holds far better than a metal hook, especially on a tree that a cat will investigate. Keep glass and ceramic bells on upper branches, away from wagging tails and small hands, and make sure no cord or light wire runs through a bell where it could trap heat.
If a bell rings every time the front door moves, a small piece of felt wedged gently against the clapper will quiet it without altering the piece. Do the same for tree bells that keep chiming at night.
The Night-Before Walkthrough
Turn the overhead lights off and walk the rooms the way a guest will: through the front door, past the mantel, around the table, and past the tree. Sit down at the dining table and look. From that height you will spot the bell hanging too low, the tray sitting too close to the edge, the ribbon that has already started to slip.
Fix the wobbles, then put together a small repair kit in a kitchen drawer: a spool of ribbon, scissors, floral wire, a pack of adhesive putty, and a soft cloth. Leave a bowl of spare bells by the front door so a guest can admire one without lifting it off the mantel. Ten minutes of walking and adjusting buys a whole evening of not worrying, which is the real point of decorating before anyone arrives.
Photo: Alexas_Fotos / Pixabay