

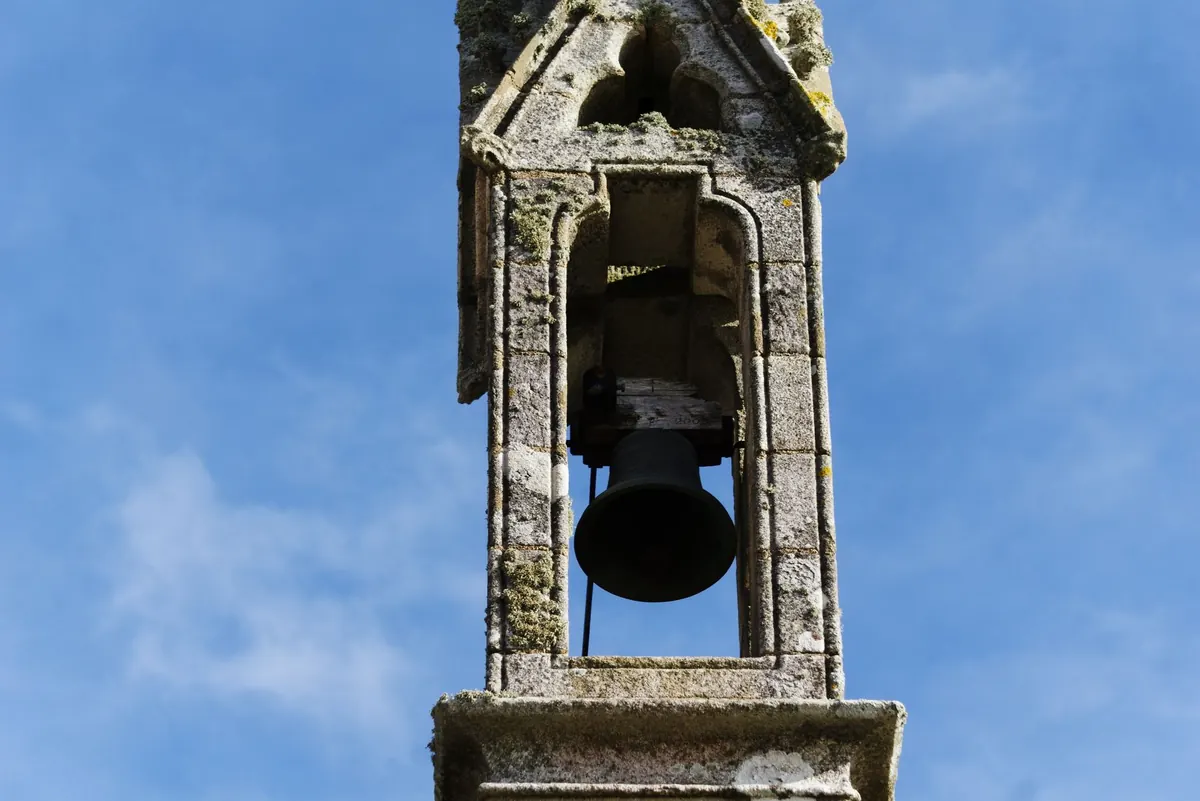

How to Hang a Heavy Silver Bell Safely
A practical guide to mounting a heavy silver bell on drywall, plaster or masonry — how to test the wall, pick anchors that hold, and hang it without cracks or regrets.
A heavy silver bell is one of those objects that looks effortless on a wall and turns out to be anything but. It is dense, it is polished, and its weight sits in a small area. Hang it badly and you get two problems at once: a bell that pulls out of the wall, and a hole in the plaster that costs more to fix than the bracket did. Neither is difficult to avoid. What follows is the sequence an experienced fitter would follow — weighing, testing, anchoring, testing again — with the small details that separate a mount you forget about from one you keep checking.
Find the Real Weight Before You Choose Anything
Start with a number, not a guess. Stand the bell on a kitchen scale together with its bracket, rope, and any decorative finial you plan to hang with it. Write that figure down. For anything over about two kilograms, assume the mount has to carry more than the static weight: when the clapper swings, or when a visitor gives the rope a tug, the wall sees a short, sharp pull far larger than gravity alone.
Then look at how the bell is built to hang. Some have a cast crown loop, some have two or three drilled holes near the top, and some have a threaded boss meant for a bracket. Use the manufacturer's point if there is one. A bell hanging from a rope looped over a picture hook is not mounted; it is balanced and waiting to fall.
Test the Wall Before the Drill Comes Out
Knock on the wall with a knuckle, then press your thumb into it. A hollow, springy response usually means drywall or lath-and-plaster. A flat, hard knock can mean masonry or a stud behind the surface. Run a strong magnet across the wall to find the screws holding the plasterboard to the studs — useful, though not every installer lines them up neatly.
A stud finder gives you the likely framing layout, but confirm the reading before you trust it. Drill a 2 mm pilot hole where you think a stud is; the bit should meet steady resistance and the dust should be pale wood, not grey powder. Never drill a run of test holes near a light switch, socket, or anything that suggests pipes. A deep screw into a water pipe is a much worse afternoon than a missed stud.
Old houses deserve a slower approach. Plaster on lath can crumble around a fixing that is too small, and the lath itself is only so strong. Tiled walls, brick veneer, and thin decorative panelling all behave differently from a clean sheet of modern plasterboard. If the surface cracks when you press it, stop and treat it as fragile.
Match the Anchor to the Wall and the Load
Every anchor maker publishes a working load for each product, and those figures assume a sound wall and correct installation. Take the published figure and give yourself a generous margin rather than working right at the limit. For a heavy bell, that usually means going one size up from whatever seems sufficient.
- Lag screw or coach screw into a stud or timber blocking: the strongest and simplest option. Best when you can place the bracket across one stud or, for a wide bell, two.
- Toggle bolt: the workhorse for hollow drywall. The wings open behind the board and spread the load over a wider area. The trade-off is a larger hole, and the wings drop into the cavity if you ever remove the bolt.
- Hollow-wall anchor (metal sleeve type): neater than a toggle for medium loads and easier to re-tighten. Fine for a bell in the three to six kilogram range on solid drywall.
- Sleeve or wedge anchor: the correct choice for brick, block, and solid stone. Not for mortar joints, and not for hollow blocks.
- French cleat: a pair of interlocking timber battens, screwed across two studs, with the bell's bracket fixed to the upper half. Excellent for a wide, heavy bell because it spreads the load and lets you lift the bell into place last.
What to avoid: plastic expansion plugs on their own, adhesive strips, picture hooks, and anything that hangs from a curtain rod or a shelf. Also think about metal against metal. A silver bell on a steel screw in a damp hallway can corrode where the two touch. A brass or stainless hanger, or a leather or nylon strap between the bell and the fixing, keeps that from starting.
Choose the Height Before You Choose the Hole
A bell is usually meant to be seen and sometimes meant to be rung. Hang it high enough that nobody walks into it — the bottom edge above shoulder height in a corridor — and low enough that you can reach the rope comfortably. If children will pull it, shorten the rope rather than raising the bell out of reach entirely.
Check what is behind and beside it. A door that swings back, a cupboard that opens upward, a radiator that pushes warm air at the silver, a window that catches direct afternoon sun: all of these change where the bell should sit. Hold the bell against the wall in position, step back, and look at it from the room's main entrance. If it reads as too small or too high from there, move it before you drill.
Protect the Bell While You Work
Silver scratches easily on a workbench covered in drill dust. Keep the bell off the site until the bracket is fixed, wrapped in a soft cloth or back in its box. Wear cotton gloves when you finally lift it, both to protect the surface and to keep fingerprints off the polished face. Two people make a heavy bell far less risky to lift into place; one to hold, one to drive the final screw.
Drill with the wall bare and the dust sheet in place, and wipe the area down before the bell goes up. Do not clean or polish the bell while it is mounted — polish runs, and silver polish leaves a mark on painted plaster that is surprisingly stubborn.
Test the Mount Before You Relax
Hang the bell, then press down on the bracket with a firm, steady hand. Not a hard yank, just more weight than the bell will ever see in normal use. Look for movement at the fixing, a widening screw head, or a hairline crack spreading from the hole. Then give the bell a gentle swing to check the clapper clears the wall.
Check it again a week later, and once more when the seasons change. Screws can settle, and old plaster can move with humidity. If a screw turns easily at the second check, replace the fixing rather than simply tightening it.
When the Wall Says No
Some situations are worth handing to someone with the right tools: thick historic plaster, tiled finishes that are no longer made, brick veneer over a timber frame, metal studs, or any ceiling mount where you cannot confirm a joist. A bell that needs to go in one of those places is not a failure of your DIY skills — it is a job that needs an inspection before a hole is made. If in doubt, ask a local fitter or handyman to confirm the substrate, and be specific about the bell's weight when you do.
A Ten-Minute Checklist Before You Hang
- Weigh the bell with bracket and rope; add a safety margin for movement.
- Identify the wall type and confirm the stud positions with a pilot hole.
- Choose an anchor rated well above the load, matched to the wall.
- Mark the bracket height with the bell held in place, then check for doors and obstacles.
- Drill cleanly, clear the dust, and fit the bracket before lifting the bell.
- Load-test the mount with steady pressure, then recheck after a week.
Done this way, a heavy silver bell becomes one of the quiet successes of a room: a bright, solid object that hangs exactly where it should, above the reach of shoulders, with no cracks behind it and nothing to think about afterwards.
Photo: falco / Pixabay